
 The Corvette's previous owner had the car repainted several years ago from the original factory Silver Metallic (paint code 13) to medium red, and he also had them spray the Rallye rims the same color.
They did not look bad, but they did not look right either, so I removed the wheels from the car, took off the chrome rings and center caps, and repainted them silver with Dupli-Color Perfect Match spray paint.
I am aware that Rallyes were painted at the factory a specific shade of silver, but since NCRS standards do not necessarily apply to my 1976 Stingray, a general-purpose GM silver fit the bill just fine.


I did find a set for a reasonable price, about an hour's drive from my home in Central Florida. So I stopped by the bank on my way over and drove down to Titusville to buy them. The rims were in good shape so I paid the $300 asking price and brought them home with me.
My plan was to clean, sand, polish and paint them before having the tires mounted, and that's what I did. The project took me several days but the results were worth it.
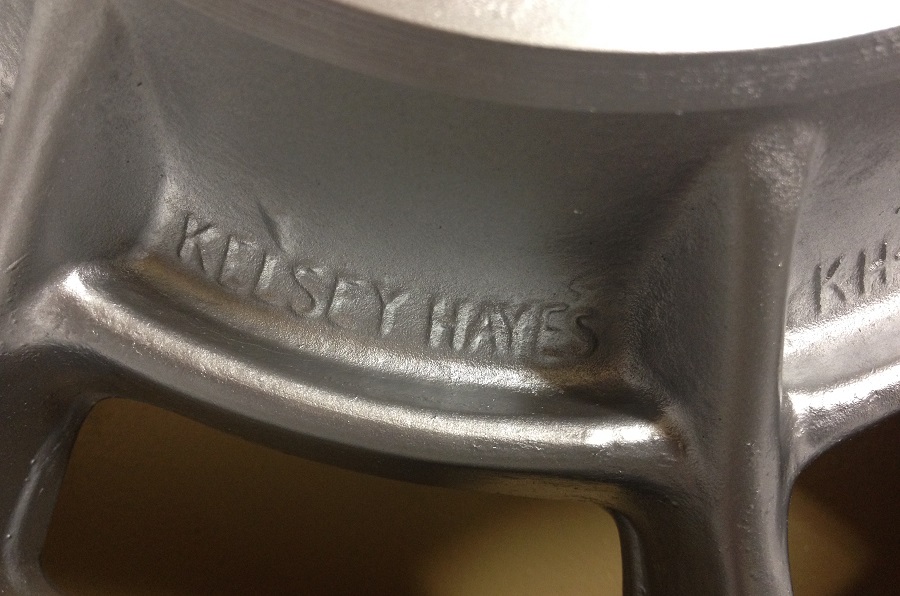
Here's a pic of the back of one of the rims, after painting, showing their provenance.
This is what I started with, and my plan of action was as follows.
First, I washed the rim to get some of the loose gunk and dirt off of it, front and back. I then sprayed the wheel with Purple Power, allowed that to soak into the grime and then scrubbed the wheel, inside and out, with a scouring pad. I then rinsed it.
In order to clean the inside of the wheel and also prep it for paint, I started wet sanding the inside of the rim with 220-grit paper, followed by 400-grit which I also used for the face of the wheel. I continued sanding the front of the rim with 800-, 1200- and finished with 2000-grit paper.


Here are before and after pics of two rims. The one on the left has been washed and sanded with 220-grit paper, while the other one has been sanded and painted silver on the inside. In order to properly paint the slots, I chose to spray the wheels from behind. This way I did not have to mask them, which would've been a lot of work.
Of course, there was some overspray on the front side, but I did the painting between sanding the face of the wheel. I wet sanded up to 400, dried the rim, spray painted the inside and slots from behind, allowed it to cure for a while, then continued wet sanding which removed any overspray. This approach worked very well.

Since Corvette slotted rims up to the '78 or '79 model, I believe, had the slots painted black from the factory, it is important to sand those areas well in order to remove as many imperfections as possible. It is time-consuming but worth the effort.
By the way, I chose to use silver paint instead of black for the slots just because I wanted the rims to look a bit different. The design creates enough shadows that make the slots look almost black anyway, but I wanted to note that since I deviated from the factory look a bit.


The rim on the left is clean and sanded with 400-grit paper and ready for paint. The one on the right has been sanded all the way to 3000 and is ready to be polished and have the center hub painted black since that is period correct for my 1976 Corvette.

I used Mothers Mag & Aluminum Polish which works very well. I also purchased new snap-in tire valves with chrome stem covers and caps, which help them blend better with the polished wheel.

After all the polishing was done, I carefully taped the center hub area, masked the rim and painted the centers black, which is the right look for a 1976 Corvette. I also bought a set of new chrome lug nuts, as well as new repro black/chrome center caps, again, correct for my model year.


When I had the tires mounted, I asked the shop to balance the wheel but use the adhesive-style weights and apply them to the inside of the rim. The old-style wheel weights that go on the outer lip look bad and I did not want those on my rims.
And this is the finished product. The silver slots look black in this photo, and the factory Kelsey-Hayes rims look right at home on my '76 Corvette.


I purposely chose to leave the rims "natural." Some people have them cleared after polishing, but by doing so you are unable to polish them further, and my rims get brighter every time I give them a once-over with Mothers Mag & Aluminum Polish.
Thank you for following my '76 Vette Blog!
Product Links... (#sponsored)
• 1976 Corvette Dealer Sales Brochure | GM-Licensed Reprint
• Sand Paper: 120/150/180/240/320/400/600/800/1000/1500/2500/3000 Grit
• Replica Silver Factory Steel Wheel OEM Quality | Size: 15" x 8"
 By Sawyer Auto
- Size: 15" x 8"
- Bolt Pattern: 5 x 4.75" (120.65mm)
- They accept factory center caps and lug nuts
- Brand new steel wheel meets or exceeds original equipment standards
- Direct replacement, indistinguishable from factory original
- Ideal when replacing only one wheel
- Accommodates original center cap and lug nuts
- CAD designed to exactly replicate factory wheel